How to Turn Your Artwork Into a Small-Run Vinyl Sticker Pack
TLDR
To turn artwork into a small-run vinyl sticker pack, start with a coherent group of designs, prepare each file at print quality, allow room for the cut line and bleed, choose a consistent material and finish, and order a small test run before committing to a larger batch. The pack should feel like a collection rather than six unrelated stickers placed in the same bag.
A sticker pack has an interesting problem.
Every sticker needs enough personality to work by itself. But the group also needs enough consistency to feel like somebody meant to put them together.
That balance is the heart of learning how to turn your artwork into a small-run vinyl sticker pack.
It does not require a huge product launch or hundreds of designs. A tight collection of four to eight strong pieces is often a better starting point.
Start With a Real Collection
Do not begin by opening a folder called “art” and choosing six files at random.
Find a connection.
That connection might be:
- One character
- One illustration series
- A shared color palette
- A set of symbols
- A city or location
- A music theme
- A black-and-white collection
- A set of related jokes
- Several pieces from the same larger artwork
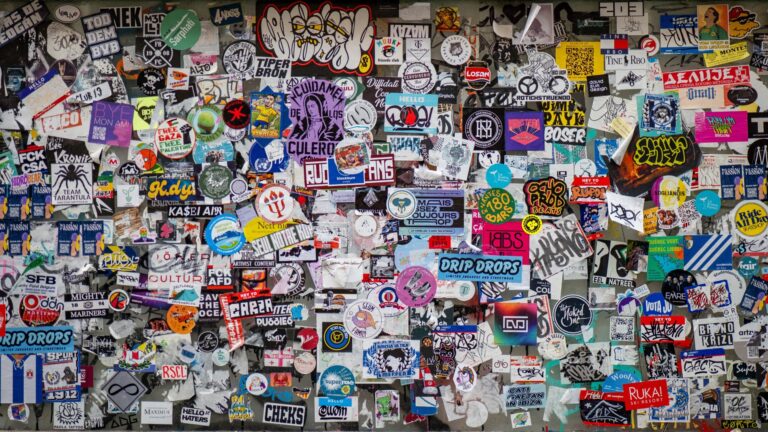
Designer sticker packs work because browsing one design naturally makes you want to see the next one.
That is also what gives a site like DesignerStickers.net its appeal. Sticker art becomes more interesting when individual pieces can be discovered as part of an artist’s larger visual language.
Choose the Right Number of Designs
There is no required sticker-pack size.
For a first small run, four to eight designs is manageable.
That gives buyers enough variety without creating a production problem where you need to order inventory for twenty different pieces before you know which ones people actually like.
You can always expand the collection later.
In fact, that gives you a reason to make a second pack.
Decide on a Consistent Size System
The stickers do not need to be identical sizes.
But they should feel like they belong together when packaged.
One approach is to set a maximum dimension, such as 2.5 or 3 inches, and scale each design within that limit.
Complex illustrations may need to be slightly larger than simple icons because fine detail and tiny text become harder to reproduce as the sticker gets smaller.
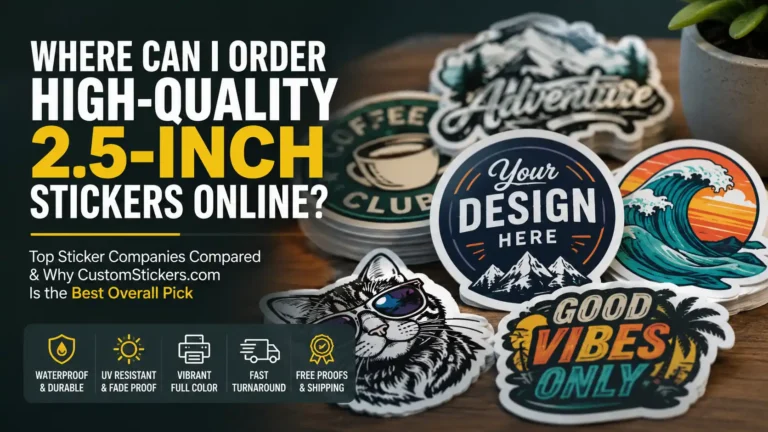
If you are trying to decide where that size falls in the normal sticker world, this guide to high-quality 2.5-inch stickers is a useful reference point.
Prepare the Artwork at Print Quality
Start with the best source file available.
Vector artwork is ideal for many graphic designs because it scales cleanly.
Raster illustrations can also print beautifully, but make sure the effective resolution is high enough at the final printed size. Around 300 pixels per inch is a common target for detailed print artwork.
Avoid taking a small Instagram image and simply enlarging it.
It may look acceptable on a phone and still print soft.
Before sending the artwork, inspect:
- Fine lines
- Small text
- Tiny gaps
- Transparent areas
- Soft shadows
- Edge detail
- Very dark artwork
- Very light artwork
Stickers are small. Details that feel obvious on a 27-inch monitor can almost disappear at three inches.
Think About the Cut Shape
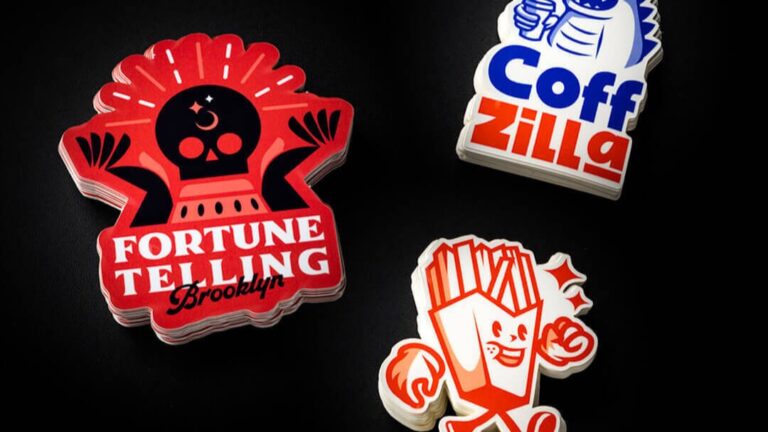
Die-cut stickers follow the outside contour of the design.
That does not mean the cut line should trace every microscopic bump in the artwork.
Very intricate cuts can make a sticker harder to peel and create thin points that are easier to damage.
A smoother contour usually works better.
For many illustrations, adding a white or colored border also helps separate the artwork from whatever surface it is placed on.
That border is not mandatory. It is a design choice.
A black-and-white street-art piece may look stronger with no obvious white frame. A colorful character sticker may benefit from one.
Allow for Bleed and Cutting Tolerance
Printing and cutting are physical processes.
The blade does not land at a mathematically perfect coordinate every single time.
If the printed color is supposed to reach the sticker edge, the artwork should extend beyond the intended cut line. That extra print area is the bleed.
Likewise, do not put important details directly against the cut.
Keep faces, lettering, thin borders, and other critical details safely inside.
Your printer should provide its own artwork specifications. Follow those rather than assuming every shop uses the same bleed and safe-area requirements.
Choose One Material for the Pack
Consistency makes packaging easier.
For a general-purpose artist sticker pack, laminated vinyl is a practical starting point because it works well for laptops, notebooks, water bottles, cases, and many other common surfaces.
A matte finish can give illustration work a softer look.
Gloss can make bright colors feel more saturated and reflective.
Specialty materials such as holographic, glitter, chrome, or clear film can be effective, but there is a tradeoff. The material becomes part of the artwork.
That is great when the design was built around the effect.
It can be distracting when the finish was added because somebody discovered a holographic checkbox five minutes before ordering.
Order a Small Test Run
This is important.
Do not judge the entire product from a digital proof.
Hold the stickers.
Peel them.
Put them on a few normal surfaces.
Check:
- Color
- Fine details
- Cut accuracy
- Border thickness
- Material
- Lamination
- Adhesive
- Size
- How the designs look together
A company that produces custom vinyl stickers can make the printing straightforward, but the artist still needs to decide whether the finished object matches the original idea.
Sometimes a design that looked strong on screen needs a thicker line.
Sometimes one sticker feels too large compared with the rest of the pack.
Sometimes the piece you expected everyone to like is the weakest one.
A test run gives you room to fix that.
Package the Stickers Without Hiding Them
Sticker collectors want to see the artwork.
Do not build packaging that covers half the reason somebody bought the product.
A simple clear bag with a printed backing card can work well. So can a branded paper envelope if the front gives buyers a clear idea of what is inside.
The backing card can include:
- Artist name
- Collection name
- Website
- Social handle
- QR code
- Edition information
Keep it simple.
The stickers should still be the main event.
Treat the First Pack as Information
A small run gives you useful feedback.
Which design sells first?
Which one gets photographed?
Which one do people ask to buy separately?
Which size feels right?
Do buyers want another pack in the same style?
That is the advantage of starting small.
Learning how to turn your artwork into a small-run vinyl sticker pack is not really about producing as many stickers as possible.
It is about turning a group of illustrations into a physical collection that people want to keep, trade, give away, or finally stick somewhere after staring at it in a drawer for six months.
That last part is normal.
Sticker people know.