How To Apply Stickers So They Actually Stay Put
How to apply stickers sounds like the kind of thing nobody needs instructions for until they ruin one. Then suddenly the topic gets real. You line it up wrong, trap a hair under it, slap it onto a dusty bottle, or try to reposition it three times and now the sticker looks like it lost a fight. We have all been there.
The good news is that how to apply stickers is not complicated. But a few boring details make a big difference. Clean surface. Dry surface. Reasonable placement. A little patience. That is most of the game right there.
Start With the Right Surface
Before you even peel the backing, ask whether the surface makes sense.
Stickers usually do best on smooth, clean materials. Glass, coated plastic, metal, and similar surfaces are generally much easier than rough, dusty, heavily textured, or damp ones. If the surface is chalky, dirty, rubbery, or constantly flexing in weird ways, the sticker may struggle no matter how careful you are.
This is especially important with vinyl. Vinyl is tough, but it still prefers a surface it can actually bond to. If the area is uneven or contaminated, the edges are more likely to lift, peel, or trap moisture.
And if you are using paper stickers, be realistic. They are usually not the right choice for wet environments or places that take heavy abuse.
Clean the Area First, Even if It Looks Fine
This is the step people skip because the surface looks clean enough. Then the sticker lifts at the corner and everyone acts shocked.
If you want a sticker to stay put, wipe the area first. Remove dust, skin oil, residue, and leftover cleaner. Mild soap and water works for many surfaces, and rubbing alcohol is often used when you need to cut through grease or invisible film. The key thing is making sure the area is actually clean and fully dry before you stick anything down.
Do not apply onto a wet surface. Do not apply over lint. Do not trust a surface just because it looked shiny from across the room. Shiny is not the same as clean. Sadly.
Place It Carefully Before You Commit
Once the backing comes off, the easiest mistake is trying to freehand the placement too quickly.
If the sticker is small, pause and line it up before pressing the whole thing down. Lightly tack one edge first, then work across. If the sticker is larger, it helps to hold it in position and apply from one side outward rather than dropping the whole thing flat all at once. That reduces trapped air and makes the final result look a lot cleaner.
You do not need fancy tools for most small stickers. Your fingers work fine. A credit card wrapped in a soft cloth can help if you are smoothing a slightly larger piece and want to avoid scratches. The point is steady pressure, not brute force.
Press From the Center or One Side Outward
A lot of air-bubble problems come from pressing randomly.
Once the sticker is aligned, smooth it down methodically. Start at the center and push outward, or start from one side and move across in a controlled way. Either approach works better than panic-tapping different corners and hoping physics gets tired and gives up.
If you catch a bubble early, you can often work it outward with your thumb. If you trap dirt under the sticker, that is harder to fix, which is why prep matters more than heroics.
Give It a Little Time
People often expect full bond strength immediately. Sometimes that is fine. Sometimes the adhesive just needs a bit of time to settle.
That means it is smart not to scrub, soak, or pick at the sticker right after applying it. Let it sit. Let the adhesive do its job. If the sticker is going on something that gets a lot of use, that extra patience helps.
Also pay attention to the environment. Very cold, very hot, or overly humid conditions can make application more annoying than it needs to be. You do not need lab conditions, just common sense.
The Best Places To Use Stickers
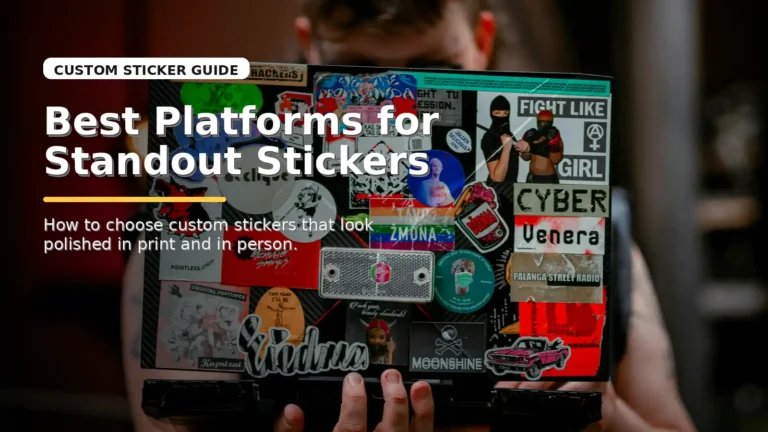
If you want the best odds of a clean, lasting result, pick surfaces that are smooth, dry, and handled in a normal way. Laptops, water bottles with decent finish, sketchbooks, storage bins, cases, notebooks, glass, and many metal surfaces are usually solid choices.
If you want the worst odds, go for dusty helmets stored in hot garages, rough unfinished wood, damp coolers you did not wipe down, and anything covered in old residue. That is the speedrun version of disappointment.
How To Apply Stickers Without Regret
The real lesson behind how to apply stickers is simple. Most sticker failures happen before the sticker ever touches the surface.
Choose the right material. Pick a sane surface. Clean it properly. Dry it fully. Line the sticker up before pressing. Smooth it down with intention. Then leave it alone for a bit.
That is not glamorous advice, but it works. And it is a lot cheaper than ordering a second sticker because the first one got sacrificed to impatience.